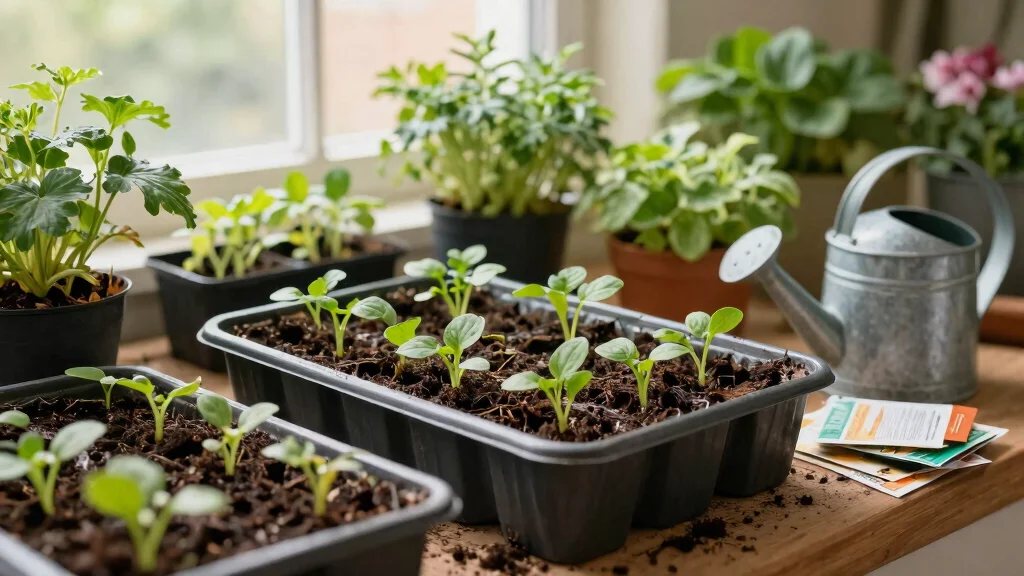
Growing your own garden can be a rewarding experience, especially when you see those tiny seeds transform into thriving plants. With the right seed starting techniques, you can cultivate healthy seedlings that will flourish in your urban garden. I created this post because, like many gardeners, I’m always on the lookout for fresh ideas to enhance my seed starting game. Whether you’re a seasoned gardener or just starting your journey, mastering seed starting is essential for a successful garden.
If you love gardening and are eager to learn effective methods for growing your plants, you’re in the right place. This post is designed for urban gardeners who seek organic solutions to nurture their seedlings. You’ll discover various seed starting ideas that cater to all skill levels. From DIY seedling pots to hydroponic methods, I’ve gathered nine creative approaches that make seed starting simple, fun, and efficient.
Get ready to dive into a world of planting techniques that will help you nurture your seedlings and ultimately create a thriving garden. You’ll walk away with practical tips and insights that can transform your gardening experiences. By the end of this guide, you’ll be equipped to tackle seed starting with confidence, ensuring that your garden flourishes.
Key Takeaways
– Explore biodegradable seedling pots as an eco-friendly alternative for planting, reducing waste while supporting plant growth.
– Learn how to make a DIY seed starting mix tailored to your seedlings’ specific needs, ensuring they receive the best nutrients for healthy development.
– Discover the benefits of using eggshells as seed pots, a creative way to start seeds while recycling kitchen waste and enriching your soil at the same time.
– Understand the importance of heat mats for enhanced germination, providing the ideal warmth your seeds need to sprout and thrive.
– Find out how regular seedling care and companion planting can aid your seedlings, promoting stronger growth and resilience against pests.
1. Biodegradable Seedling Pots

Are you searching for an eco-friendly way to start your seeds? Biodegradable pots are a fantastic solution! Crafted from materials like peat, bamboo, or even cow manure, these pots naturally break down in the soil, feeding your seedlings as they grow. They provide just the right amount of moisture retention and aeration, crucial for developing healthy seedlings.
Moreover, they minimize transplant shock since you can plant them directly into your garden, allowing roots to flourish uninterrupted. This simplicity makes gardening more enjoyable and sustainable.
To get started:
– Fill pots with organic potting mix.
– Sow seeds at the recommended depth.
– Maintain moisture without oversaturation.
– Transplant the entire pot to protect the roots.
This eco-conscious choice not only nurtures vibrant plants but also benefits our planet.
Fun fact for seed starting: Biodegradable seedling pots dramatically reduce transplant shock—plant the whole pot, roots slip into fresh soil and you save time with no pot removal. Your seed starting routine just got greener and easier.
Biodegradable Seedling Pots
Editor’s Choice

Espoma Organic Seed Starter Premium Potting Soil Mix – All Natural & Org…

JNYONG 60 Packs 3.15 Inch Peat Pots,Biodegradable Pots for Seedlings wit…
2. DIY Seed Starting Mix

Want to give your seedlings the best chance at life? Making your own seed starting mix is a great way to achieve that. Unlike commercial mixes, which can contain unwanted chemicals, you can create a blend that’s pure and organic. Just mix equal parts of peat moss, perlite, and vermiculite for excellent drainage and aeration.
This combination ensures your young plants stay hydrated without drowning. Tailoring your mix offers flexibility for different plant needs, enhancing their growth potential.
Pro tips:
– Sterilize materials if reusing old mix to prevent diseases.
– Adjust pH to between 6.0 and 6.8 for optimal growth.
– Pre-moisten the mix before adding seeds for consistent germination.
With this DIY method, you’ll have a custom blend to support your seedlings as they thrive!
Fun fact: A simple 1:1:1 seed starting mix—peat moss, perlite, and vermiculite—drains beautifully and stays airy for healthy roots. With this organic blend, your seedlings drink without drowning, and you can tailor the mix for different plants.
DIY Seed Starting Mix
Editor’s Choice

PVP Industries 4 Cubic Feet of Medium Vermiculite – Professional Grade S…

Miracle-Gro Sphagnum Peat Moss – Enriched with Plant Food, Add to Pottin…

Back to the Roots 100% Organic Perlite | Made in the USA | Premium Nutri…
3. Using Eggshells as Seed Pots

Did you know that your kitchen waste can serve a purpose in your garden? Eggshells make fantastic seed pots! This eco-friendly option not only recycles but also provides calcium, essential for strong seedlings. Simply clean out the shells, fill them with potting soil, and plant your seeds.
Using eggshells offers several benefits. They are biodegradable, helping balance soil pH, and their small size is ideal for herbs or tiny plants. This method is both practical and fun, making your gardening experience more rewarding.
How to utilize them:
– Clean and rinse eggshells carefully.
– Fill them with seed starting mix, sow seeds, and keep moist.
– Once seedlings grow a few inches, plant them whole or break apart for composting.
This clever approach not only supports your plants but also adds a creative touch to your gardening routine!
Using Eggshells as Seed Pots
Editor’s Choice

Sereniseed Certified Organic Herb Seeds (10-Pack) – Non GMO, Heirloom …

Miracle-Gro Organic Outdoor Potting Mix – Plant Soil for Outdoor Contain…
4. Hydroponic Seed Starting

Living in a city with limited garden space? Consider hydroponic seed starting! This innovative method uses nutrient-rich water instead of soil, making it perfect for apartments. With a simple hydroponic system, you can start seeds successfully and enjoy faster growth rates.
This technique reduces pests and diseases often found in soil, while also maximizing your growing area. It’s a fantastic option for urban gardeners looking to enhance their green thumb.
To begin:
– Choose a hydroponic system like deep water culture.
– Prepare nutrient solutions as per instructions.
– Place seeds in net pots with a growing medium such as rock wool.
– Regularly monitor pH and nutrient levels for best results.
Embrace hydroponics to nurture your seedlings in a clean and efficient way!
Fun fact: Hydroponic seed starting can boost growth speed by up to 30% in urban setups, letting you harvest earlier in apartments. With a simple hydroponic system, you start seeds without soil and maximize every inch of balcony or kitchen counter.
📹 Related Video: Hydroponic Seed to Finish STEP BY STEP
Hydroponic Seed Starting
Editor’s Choice

Liquid Plant Food for use in AeroGarden, IDOO and Hydroponic Growing Sys…
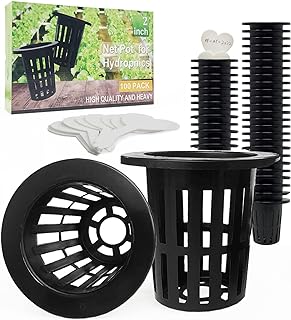
100 Pack 2 inch Net Pots Hydroponics Supplies Cups, Round Wide Lip Desig…

Ahopegarden Indoor Garden Hydroponics Growing System: 10 Pods Plant Germ…
5. Seed Tape for Easy Germination
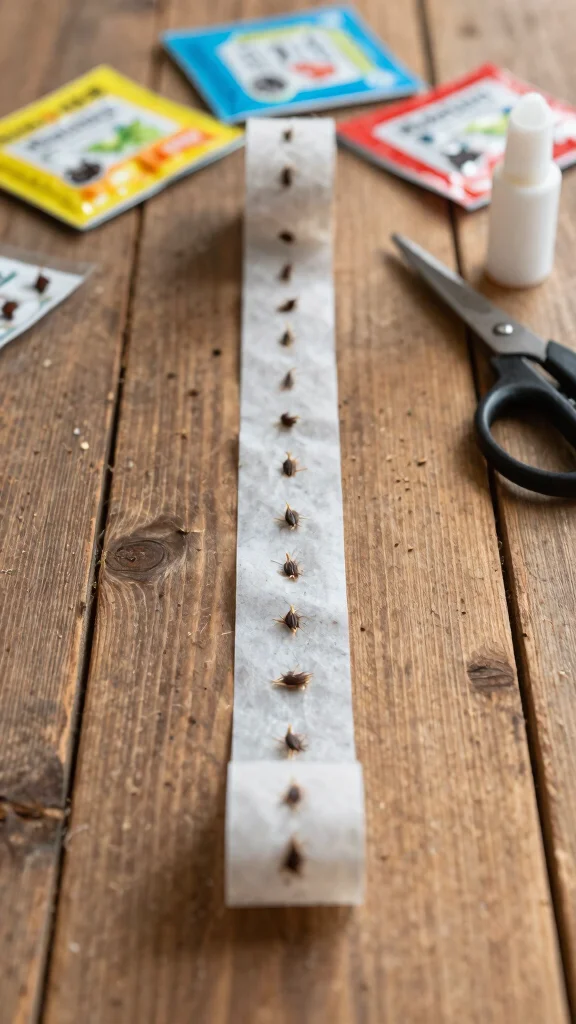
Are you struggling with uneven seed spacing? Seed tape could be your answer! This clever gardening hack involves strips of biodegradable paper embedded with seeds, ensuring perfect spacing for seedlings. It’s a handy solution for maximizing growth, especially in small garden beds or containers.
The use of seed tape simplifies planting, saving you time and reducing wastage by maintaining proper intervals. It’s perfect for direct sowing in your garden or raised beds.
To make your own:
– Use biodegradable paper like toilet paper.
– Apply glue at intervals and place seeds along the strip.
– Once dry, fold and store until planting.
– Lay the tape on prepared soil and cover lightly.
This fun project makes starting seeds easier and more enjoyable for every gardener!
You might also like
Seed Tape for Easy Germination
Editor’s Choice

codree 131 Ft Water Soluble Seed Tape, Quickly Dissolves in Water Planti…
6. Heat Mats for Enhanced Germination
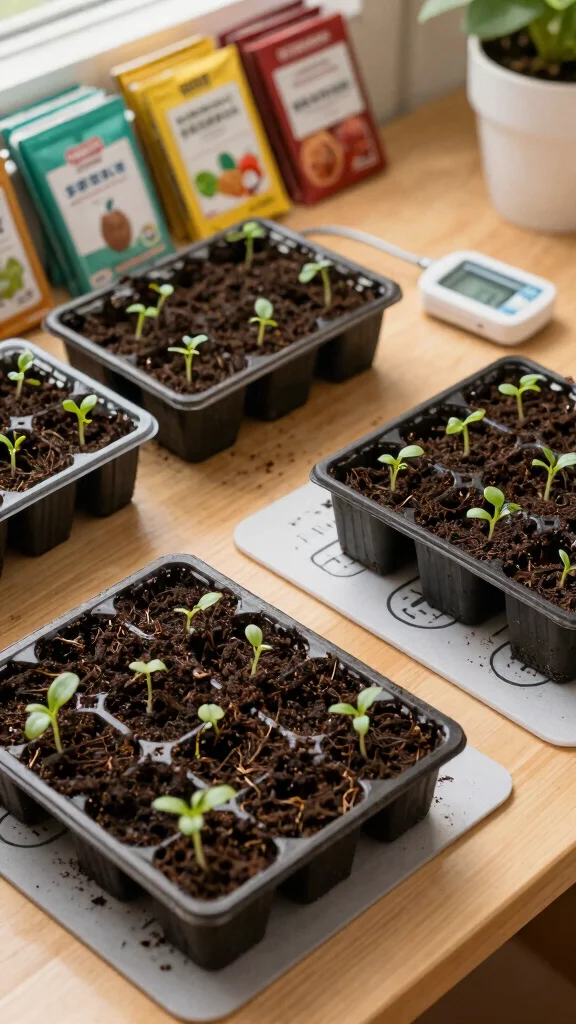
Are you starting seeds indoors? A heat mat might be the key to successful germination. These mats provide bottom heat, warming the soil and speeding up sprouting. They’re especially useful for seeds like tomatoes and peppers that thrive in warm conditions.
Using a heat mat creates a consistent temperature range, enhancing germination times and reducing the risk of damping-off disease. This method is a must-have for eager gardeners looking to kickstart their growing season.
To use one effectively:
– Monitor soil temperature to stay between 70°F and 75°F.
– Position trays directly on the mat for optimal contact.
– Remove seedlings from the heat once they sprout to prevent overheating.
This approach can significantly boost your seed starting success!
Heat Mats for Enhanced Germination
Editor’s Choice

Taylor Soil Testing Thermometer, Gardening Tool for Plant Care, Gardenin…

VIVOSUN Durable Waterproof Seedling Heat Mat 10″ x 20.75″ UL & MET-Certi…
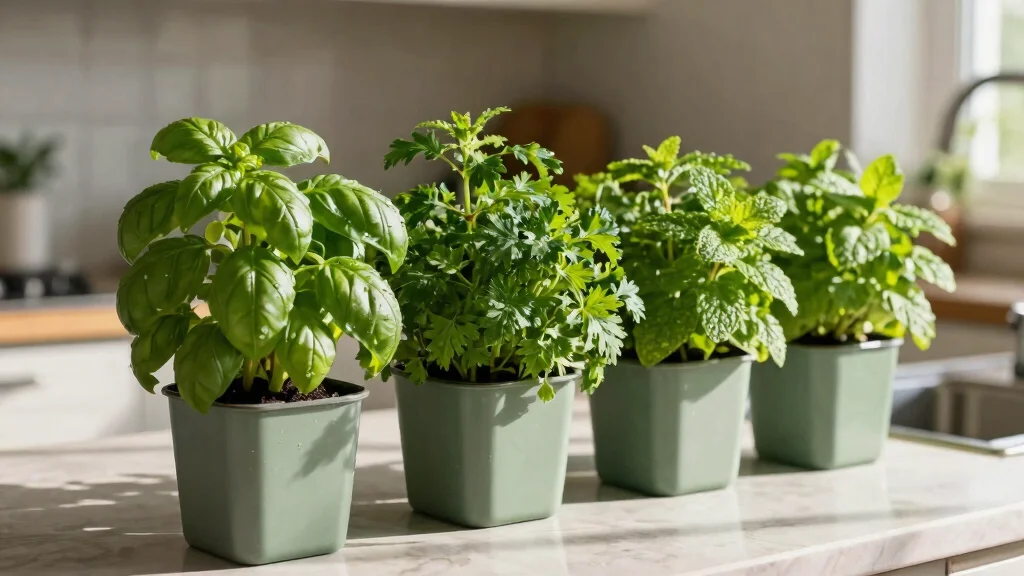
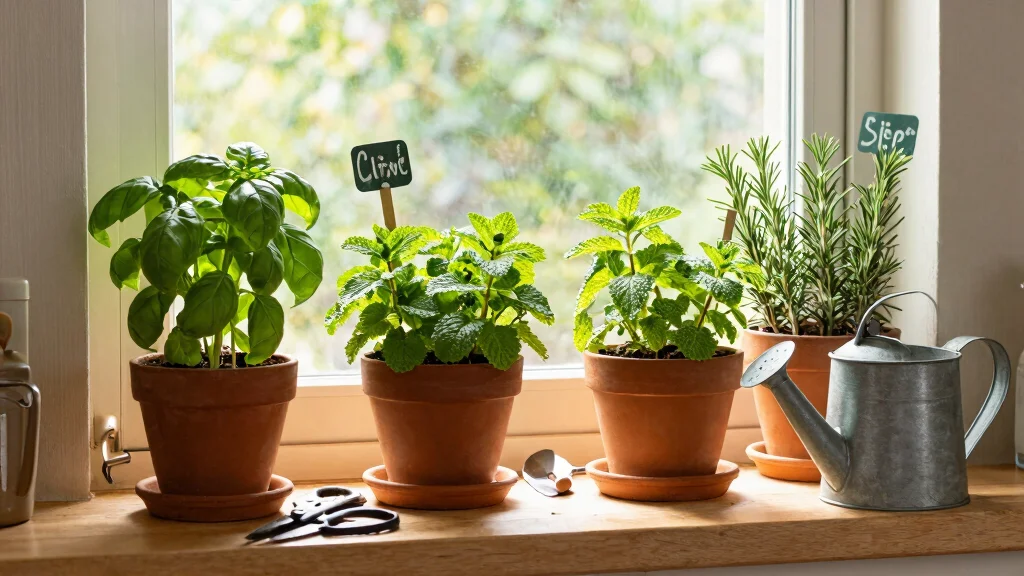
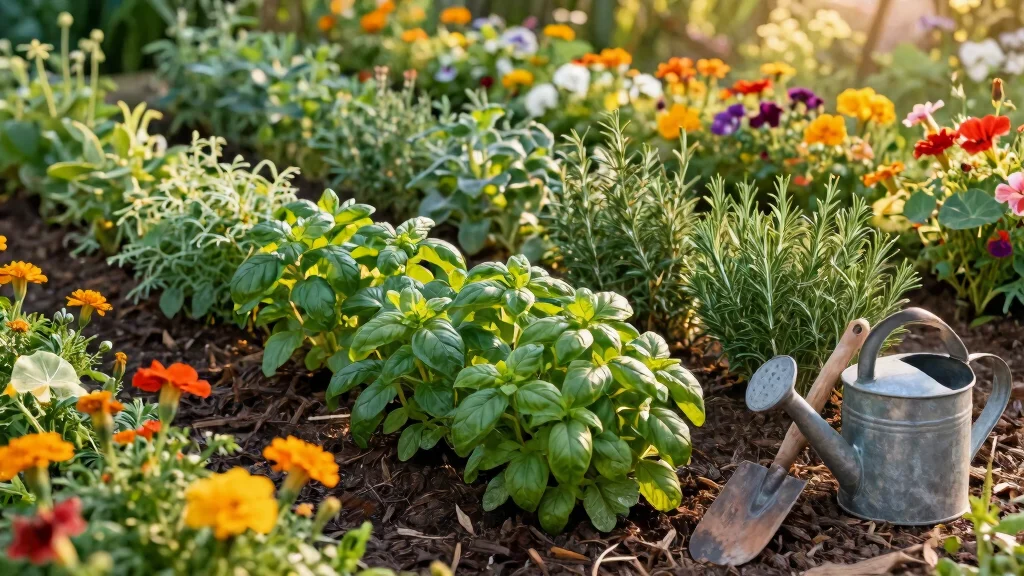
7. Companion Planting to Aid Seedlings

Why not invite some friends to your seed starting adventure? Companion planting is a wonderful organic gardening method where different plants grow together for mutual benefits. Certain plants enhance growth, repel pests, and even improve flavors when planted alongside each other.
This technique boosts nutrient uptake and soil health while reducing the need for chemicals. It also promotes biodiversity, enriching your garden ecosystem.
To get started:
– Plant marigolds with vegetables to deter pests.
– Grow basil with tomatoes for better flavor and growth.
– Consider beans alongside corn for natural nitrogen supply.
This method fosters a thriving environment for your seedlings while creating a vibrant garden!
Companion Planting to Aid Seedlings
Editor’s Choice

Companion Planting for Beginners: Pair Your Plants for a Bountiful, Chem…

Organic Seedling Solution, Liquid Fertilizer for Seedlings, Cuttings & C…
8. Vertical Seedling Stacks

Short on space in your urban garden? Vertical seedling stacks maximize your area while adding visual appeal. By using tiered planters or repurposed materials, you can create a vertical garden that accommodates numerous seedlings without taking up much room.
This approach enhances light exposure for all plants and serves as an attractive feature on your balcony or in your garden. It’s a smart way to make the most of limited urban space.
To create your own:
– Use recycled materials like pallets or PVC pipes.
– Fill each layer with quality soil and plant seeds.
– Ensure proper drainage to avoid water issues.
This innovative method not only conserves space but also beautifies your gardening area!
You Might Also Like

How To Choose The Right Seed Starting Containers
Choosing the right containers for seed starting can significantly impact your gardening success. The right choice provides a healthy environment for your seedlings, promoting strong growth. Let’s break down the key criteria to help you select the perfect seed starting containers for your garden.
1. Size Matters
The size of your seed starting containers influences not only how many seeds you can plant but also how much room the seedlings have to grow. Look for containers that are at least 2-3 inches deep and wide enough to accommodate the roots of your seedlings. If you are planning to transplant them later, consider larger options like 4-inch pots.
2. Material Considerations
Seed starting containers come in various materials, each with its pros and cons. Plastic containers are lightweight, reusable, and often have drainage holes. Clay or ceramic pots are great for moisture retention but can be heavy and break easily. Biodegradable options, like peat pots, are environmentally friendly and break down after planting, but they can dry out quickly.
3. Drainage Features
Proper drainage is crucial for seedling health. Choose containers that have holes at the bottom to allow excess water to escape. Without good drainage, your seedlings may suffer from root rot. You can also create your drainage system by using a combination of materials in the bottom layer of your container.
4. Ease of Handling
Consider how easy the containers are to handle, especially when moving them indoors and outdoors. Lightweight materials will make your gardening tasks easier. Additionally, if you plan to stack or store the containers, look for designs that nest easily without taking up too much space.
5. Reusability and Cost
Your budget may influence your choice of containers. Plastic containers can often be reused for multiple planting seasons, making them a cost-effective option. Biodegradable pots are typically cheaper but are single-use. Evaluate how much you’re willing to spend and how long you want the containers to last.
6. Seedling Type Compatibility
Different seedlings have varying needs, which means their container choice might differ. Fast-growing plants like tomatoes might do better in larger pots from the start, while slower-growing varieties can thrive in smaller containers. Research the specific requirements for the seedlings you plan to grow.
Pro Tip: When starting seeds, label your containers clearly with the seed type and planting date. This will help you track your seedlings’ growth and care, ensuring you give each type the attention it needs.
By carefully considering these criteria, you can select the best seed starting containers that will contribute to healthy seedlings and a thriving garden. Happy planting!
Vertical Seedling Stacks
Editor’s Choice

TOREVSIOR 5-Tier Vertical Raised Garden Bed, Vertical Garden Planter wit…

Wood Pallet DIY Garden: 30 Unique Projects to Transform Your Outdoor Space
9. Regular Seedling Care
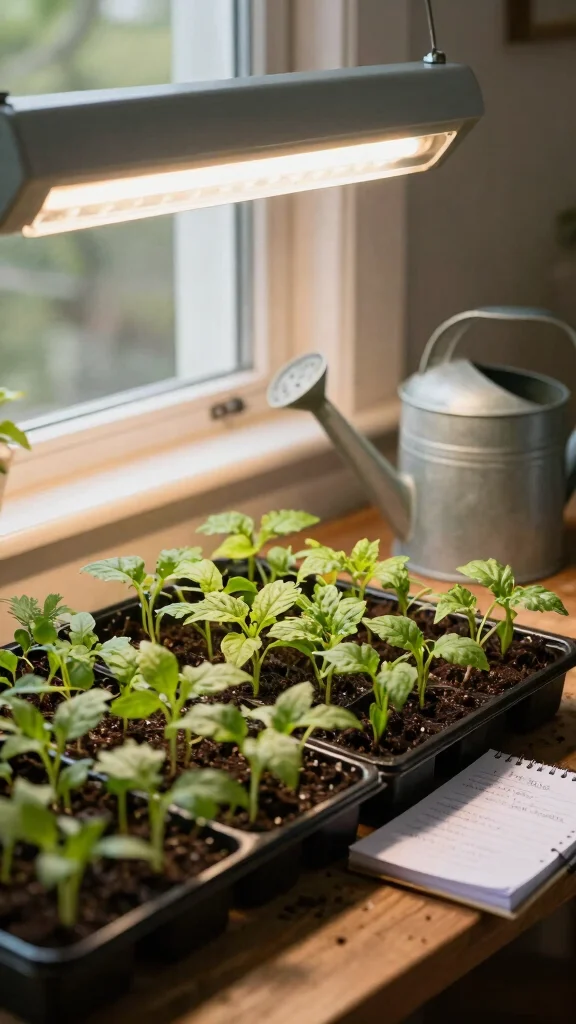
After your seeds germinate, proper care is vital for healthy growth. This includes watering, managing light, and watching for pests or diseases.
Here are some essential care tips:
– Water gently to protect delicate roots.
– Ensure seedlings get 12-16 hours of light daily, from sunlight or grow lights.
– Thin seedlings if overcrowded to help the strongest ones thrive.
Regular monitoring is crucial; always check for signs of distress or pests. With consistent care, your seedlings will flourish and lay down a strong foundation for your future garden.
A little daily attention can transform your garden into a thriving oasis!
Regular Seedling Care
Editor’s Choice

Chapin 47998 Watering Can, 2 Gallon, Indoor and Outdoor Plants, Lawn, Ga…

Burpee SuperSeed Seed Starting Tray | 36 Cell Reusable Seed Starter Tray…

VIPARSPECTRA P700 Grow Light, 70 Watt Dimmable Full Spectrum Plant Light…
Conclusion
With these nine inventive seed starting ideas, your urban garden is well on its way to flourishing! From biodegradable pots to hydroponic systems, there are countless ways to nurture your seedlings and enhance your gardening experience.
Explore these techniques to find what works best for you, and remember that every garden begins with a single seed. Happy gardening!
Note: We aim to provide accurate product links, but some may occasionally expire or become unavailable. If this happens, please search directly on Amazon for the product or a suitable alternative.
This post contains Amazon affiliate links, meaning we may earn a small commission if you purchase through our links, at no extra cost to you.
Frequently Asked Questions
What are the most effective seed starting ideas for growing healthy seedlings in a small urban garden?
In small urban spaces, the key is compact, efficient seed starting ideas that spare you space while delivering strong seedling vigor. Start with clean containers or repurposed trays, and fill them with a high-quality organic seed starting mix for soil preparation that drains well. Keep the medium consistently moist but not soggy to support germination methods. Use warm, bright locations or a grow light setup to encourage uniform emergence. Label everything and rotate containers to prevent damping-off. After germination, move seedlings to a bright, airy spot and provide gentle seedling care like bottom watering, gradual acclimation, and regular checks for pests. These gardening tips translate your seed starting into robust seedlings ready for transplant.
Which germination methods work best for organic seed starting in apartments?
For organic seed starting in apartments, try these germination methods: pre-soak seeds that benefit from soaking (like squash or peppers) for 4–8 hours; surface sow tiny seeds and barely cover with seed starting mix; use shallow trays and a clear lid to maintain humidity; provide bottom heat with a seedling mat at about 70–75°F (21–24°C). Once sprouts appear, remove the cover to prevent mold and ensure good air circulation. Keep lights close and steady for even growth. These methods maximize germination rates while keeping everything organic and simple.
How can I optimize soil preparation to improve seed starting success?
Start with a clean slate by using a dedicated seed starting mix or creating a DIY blend with 1 part peat or coconut coir, 1 part perlite or vermiculite, and 1 part compost. Soil preparation should prioritize drainage and light texture to prevent compaction. Moisten the mix before filling containers and avoid using heavy garden soil. For added nutrition, apply a weak, organic fertilizer once seedlings emerge. Maintain a pH around 6.0–7.0 and ensure containers have drainage holes. Good soil preparation sets the stage for strong germination and healthy early growth.
What planting techniques promote strong root development and thriving seedlings?
Focus on gentle, deliberate planting techniques that minimize root disturbance. Start seeds in shallow trays, then thin or transplant when true leaves appear to prevent crowding. Use biodegradable pots or transplant with minimal root disruption, and harden off seedlings gradually before outdoor planting. Keep soil evenly moist and provide consistent light to encourage steady root growth. Proper spacing, transplant timing, and avoiding shock are key gardening tips for robust, well-rooted seedlings.
What are simple gardening tips to care for seedlings after germination to prevent common problems?
After germination, give your seedlings bright light and stable temperatures, ideally with a grow light running 12–16 hours a day. Water from the bottom when possible to avoid wetting leaves, and keep the medium evenly moist—not soggy—to prevent damping-off. Feed with a diluted organic fertilizer after the first true leaves appear, and thin or transplant crowded seedlings to give roots room to grow. Monitor for pests and diseases, remove affected leaves, and gradually harden off plants before outdoor hard transplanting. These seedling care and gardening tips help you grow healthy, thriving plants from seed starting.
Related Topics
seed starting
organic gardening
urban gardening
seedling care
germination techniques
soil preparation
beginner gardening
easy planting
sustainable practices
container gardening
seasonal planting
garden tips