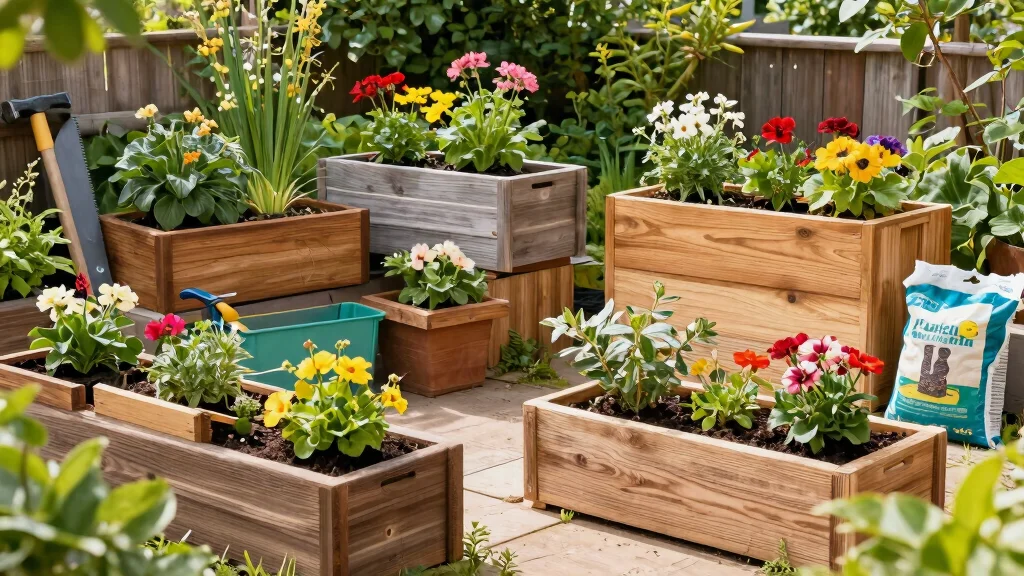
Gardening season is upon us, and it has me daydreaming about the lush green spaces we can create right outside our doors. There’s something about fresh air, the sun on your skin, and the rich smell of soil that makes you crave a vibrant outdoor garden. If you’re like many people who want to enjoy gardening but feel limited by space or budget, this post is just for you.
In this guide, I’ve gathered 10 DIY plant box outdoor ideas that are not only budget-friendly but also perfect for weekend projects. Whether you’re a seasoned gardener or just dipping your toes into the world of plants, these creative solutions will help you make the most of any outdoor space. You’ll discover fun and accessible ways to transform your patio, balcony, or backyard into a lively oasis filled with flowers, herbs, and veggies.
By the end of this post, you’ll have a treasure trove of ideas that are easy to build and customize according to your style. Get ready to roll up your sleeves and dive into some satisfying weekend gardening activities that will elevate your outdoor living space without breaking the bank!
Key Takeaways
– Uncover 10 DIY plant box outdoor ideas that are budget-friendly and perfect for small spaces.
– Explore options ranging from vertical pallet gardens to upcycled tire planters for creative plant box solutions.
– Learn how to use reclaimed materials that not only save money but also add a unique flair to your garden.
– Discover practical tips for weekend gardening activities that fit any skill level, making it easy to get started.
– Find inspiration to create a stunning garden that brings joy and beauty to your outdoor area, enhancing your home environment.
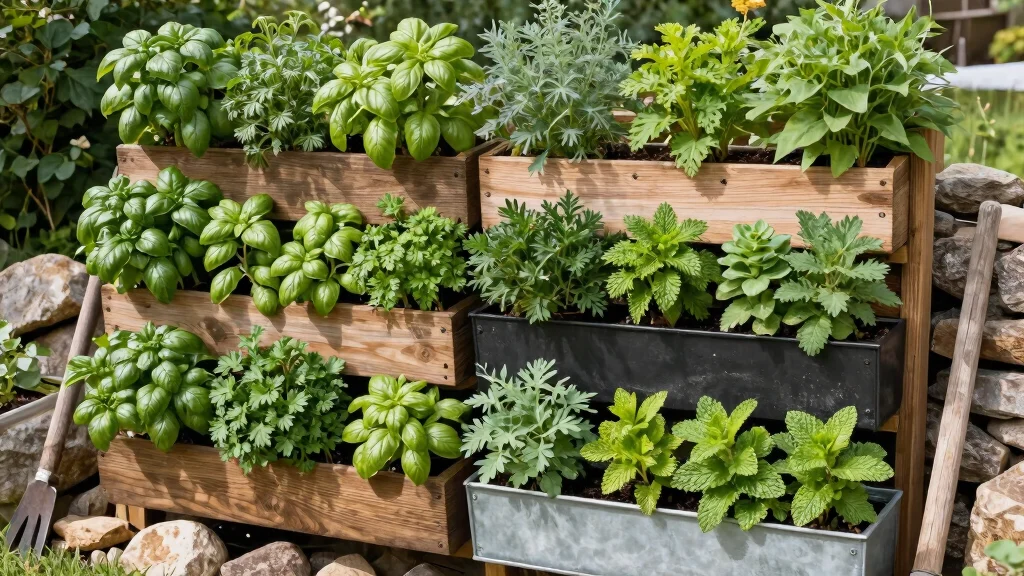
1. Vertical Pallet Garden

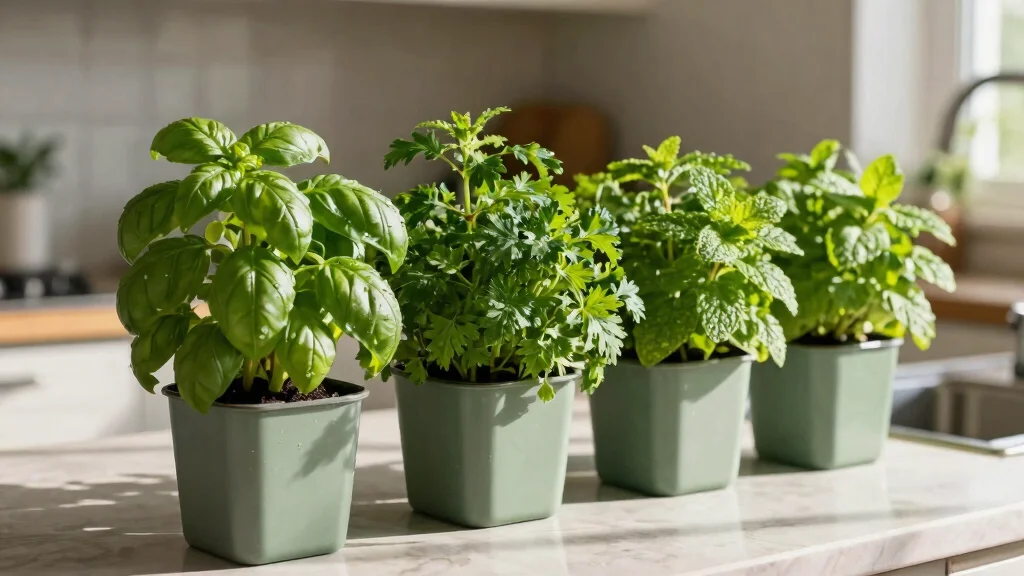
Are you looking for a creative way to grow plants in a small space? A vertical pallet garden could be your perfect solution! This project allows you to cultivate herbs, flowers, or vegetables without sacrificing precious ground space. Start by cleaning an old wooden pallet to ensure it’s free of dirt and debris.
Once your pallet is ready, secure it vertically against a sturdy wall. Line the back and sides with landscape fabric to hold the soil. Fill it with potting soil and plant herbs like basil, parsley, and mint. Regular watering will reward you with a fragrant herb garden right at home!
Key steps to get started:
– Clean the pallet thoroughly
– Secure it against a wall
– Line with landscape fabric
– Fill with soil and plant herbs
This project not only maximizes your gardening space but also adds a unique visual element to your outdoor area, making it a delightful conversation starter!
Vertical Pallet Garden
Editor’s Choice
Greaton, 20x20x5 Wooden Pallet Kit, Heavy-Duty Industrial Grade Pinewood…

LAVEVE 4FT x 100FT Weed Barrier Landscape Fabric, 3.2oz Premium Heavy Du…

Miracle-Gro Potting Mix – For Container Plants, Flowers, Vegetables, Shr…
2. Tiered Wooden Planters

Looking to add a stunning visual effect to your garden? Tiered wooden planters are a fantastic choice! By stacking smaller boxes on top of larger ones, you create an eye-catching display perfect for various plants. You can tailor the heights to fit your outdoor space and personal taste.
Start by cutting wooden boards to your desired dimensions and constructing simple boxes for each tier. Secure them with screws and wood glue for stability, then line the tiers with landscape fabric to keep the soil in place. Fill them with flowering plants and trailing vines for a beautiful cascading look.
Key steps to create your tiered planters:
– Cut wooden boards to size
– Construct boxes for each tier
– Secure with screws and wood glue
– Fill with plants for visual appeal
This project not only enhances your garden’s aesthetic but also offers a rewarding weekend activity with family or friends. As your plants grow, they’ll create a lush and vibrant display!
Fun fact: Tiered wooden planters maximize space—2-3 tiers create height without crowding your yard. Pro tip: Cut, screw, and line with landscape fabric for clean drainage—your diy plant box outdoor display will wow guests.
Tiered Wooden Planters
Editor’s Choice

Hi-Spec Tool Set 25pc Pink Household DIY Tool Kit for Women. Small Mini …

Titebond III Ultimate Wood Glue, 16-Ounces #1414

iropro 4ftx300ft Weed Barrier Fabric 3.2oz Landscape Fabric Heavy Duty, …
3. Cinder Block Herb Garden

Do you have some cinder blocks lying around? Transform them into a unique herb garden! This budget-friendly DIY project is simple and effective. Start by arranging the cinder blocks in a pattern that suits your space, whether it’s a square or a more intricate design.
Fill the cavities of the blocks with well-draining soil and plant herbs like rosemary, thyme, and cilantro. The blocks provide excellent drainage and stability for your plants. For a touch of personality, consider painting or labeling each block.
Key steps for your herb garden:
– Arrange cinder blocks in your desired pattern
– Fill cavities with soil
– Plant herbs of your choice
– Add painted designs for flair
This project is not only space-efficient but also allows you to experiment with different herbs, making your weekends productive and enjoyable!
Cinder Block Herb Garden
Editor’s Choice

KILZ Self-Priming Masonry, Stucco and Brick Paint, Interior/Exterior, Fl…

Back to the Roots 100% Organic Indoor Potting Mix (6 Quart), Promotes He…

4. Stylish Wine Crate Planters

Have old wine crates that you no longer use? They can be transformed into charming planters! Ideal for small plants, wine crates can enhance your patio or balcony. Start by cleaning and sanding them to get rid of rough edges.
Consider painting or staining the crates to match your outdoor decor. Drill drainage holes in the bottom, then fill with potting soil and your favorite plants. Trailing flowers like petunias or geraniums will create a beautiful cascading effect.
Key steps to upcycle your wine crates:
– Clean and sand the crates
– Paint or stain to match decor
– Drill drainage holes
– Fill with soil and add plants
This stylish project not only gives a rustic charm to your garden but also helps you recycle materials creatively!
Fun fact: a single wine crate can become 2-4 small-plant planters in your diy plant box outdoor setup. With a quick clean, few holes, and a splash of weather-safe paint, you’ll add instant charm to balconies—and save money.
Stylish Wine Crate Planters
Editor’s Choice

DEWALT 20V Max Cordless Drill Driver Set, 2 Speed, High Performance Moto…

Rust-Oleum 369383 Advanced Dry Door & Trim Paint, Quart, Satin Black

YNZDRWA 8 Pack Sanding Sponge, Washable and Reusable Sanding Blocks for …
5. Upcycled Tire Planters

Got old tires taking up space? Turn them into colorful planters! This eco-friendly project is whimsical and fun, breathing new life into items that would otherwise be discarded. Begin by cleaning the tires thoroughly to remove any dirt.
You can paint them in vibrant colors or create unique patterns. Stack the tires for a tiered effect or leave them flat. Fill them with soil and plant colorful flowers or even vegetables to brighten your garden.
Key steps for your tire planters:
– Clean the tires thoroughly
– Paint in bright colors
– Stack or lay flat as desired
– Fill with soil and add plants
This creative project not only makes gardening engaging for kids but also adds a playful touch to your outdoor space!
You might also like
Upcycled Tire Planters
Editor’s Choice

Miracle-Gro Organic Outdoor Potting Mix – Plant Soil for Outdoor Contain…

Garden Tools Set, 3 Pack Heavy Duty Gardening Tools Set Include Garden S…
Dupli-Color TP101 Tire Paint – Black Spray Paint – 11 oz. Aerosol Can
6. Reclaimed Wood Flower Boxes

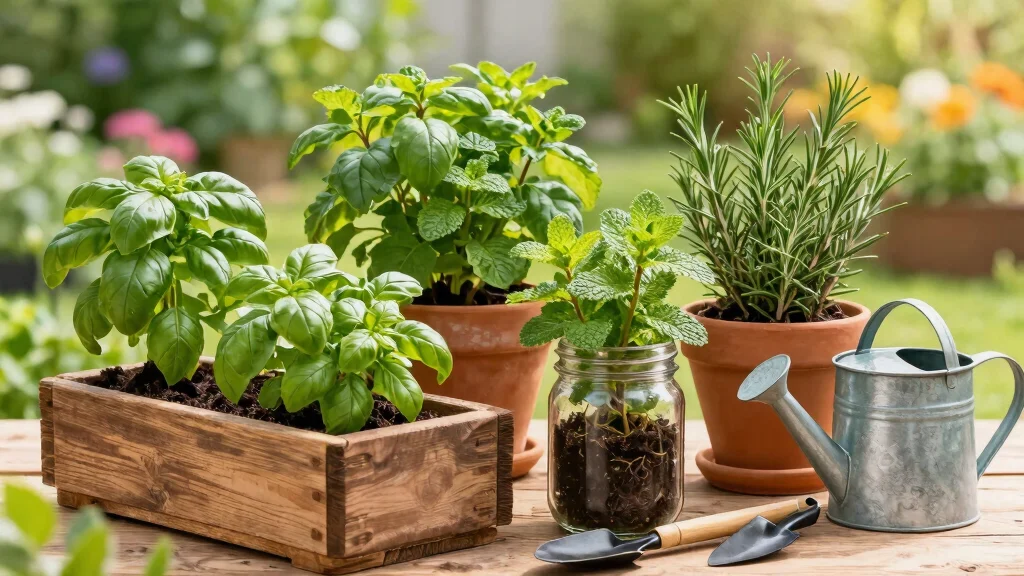
Reclaimed wood is a wonderful choice for crafting beautiful flower boxes! These boxes add rustic charm to your garden and can be customized to any size you need. Start by gathering reclaimed wood and cutting it to your desired dimensions.
Mix different types of wood for added character, then assemble the boxes, ensuring to create drainage holes. Fill them with quality potting soil and choose flowers that fit your style, such as bright marigolds or delicate daisies.
Key steps to build your flower boxes:
– Gather and cut reclaimed wood
– Assemble boxes with drainage holes
– Fill with potting soil
– Select flowers to plant
This DIY project is perfect for creating a stunning outdoor statement piece and enhances the beauty of your porch or patio!
📹 Related Video: Reclaimed Wood Planter Box – Eski Görünümlü Saksı
Difficulty Rating & Requirements
Overall Difficulty Rating: Medium
Building a DIY plant box outdoor project can be rated as medium difficulty. This rating suits those with some basic tools and handyman skills, but it’s still approachable for eager beginners. Most of the projects can be completed over a weekend, making them great for anyone looking to spruce up their outdoor space without needing extensive experience in woodworking or gardening.
Time Estimate:
⏱ Estimated time: 3-6 hours, depending on the project
– Planning & Design: 1 hour
– Gathering Materials: 1-2 hours
– Construction: 2-3 hours
This breakdown helps you allocate your weekend effectively, ensuring you have enough time to enjoy the process.
Skill Requirements:
– Required skills: Basic woodworking, measuring, and assembly
– Beginner-friendly: Yes. If you’re willing to learn, you can pick up the necessary skills along the way. While some projects may require a basic understanding of tools, there are plenty of resources available, including video tutorials and guides.
– Skills that can be learned: Measuring, sawing, and assembling. These are fundamental skills that anyone can master with a bit of practice.
– Skills that require experience: Advanced carpentry or specialized techniques may be needed for more complex designs, but these aren’t necessary for the majority of DIY plant box projects.
Tools & Materials Needed:
🧰 Essential items checklist:
– Wood (Pine, Cedar, or Reclaimed): Required
– Screws/Nails: Required
– Drill/Screwdriver: Required
– Saw (Hand saw or Power saw): Required
– Measuring Tape: Required
– Sandpaper (Optional): Helps treat rough edges; optional
– Paint or Sealant (Optional): For aesthetic purposes and protection
– Gloves and Safety Glasses: Required for safety
Step-by-Step Overview:
1. Planning & Design (1 hour): Decide the dimensions and layout for your plant box. Sketch out your ideas and make a list of materials.
2. Gathering Materials (1-2 hours): Visit your local hardware store or collect materials from home. Ensure you have all the necessary tools before starting.
3. Construction (2-3 hours): Cut the wood to size, assemble the pieces using screws or nails, and sand the edges for a smooth finish. Don’t forget to check for levelness as you build!
4. Finishing Touches (Optional, 1 hour): If desired, paint or seal your planter to make it weather-resistant. Let it dry before planting.
Professional vs DIY:
When it comes to cost, hiring a professional can set you back anywhere from $200 to $500, depending on the complexity of the design and materials used. In contrast, a DIY plant box can cost as little as $30 to $150, depending on your choice of materials and tools. If you enjoy hands-on projects and have a weekend to spare, tackling this yourself can be both fulfilling and budget-friendly. However, if you lack the tools or time, hiring a professional ensures a polished result without the hassle.
Reclaimed Wood Flower Boxes
Editor’s Choice

My Barnwood Frames Reclaimed Wood Planter Box with Metal Brackets (Mediu…

KAKURI Japanese Woodworking Hand Tool Set for Beginner 7 Pcs (Japanese P…
Miracle-Gro Potting Mix – For Container Plants, Flowers, Vegetables, Shr…
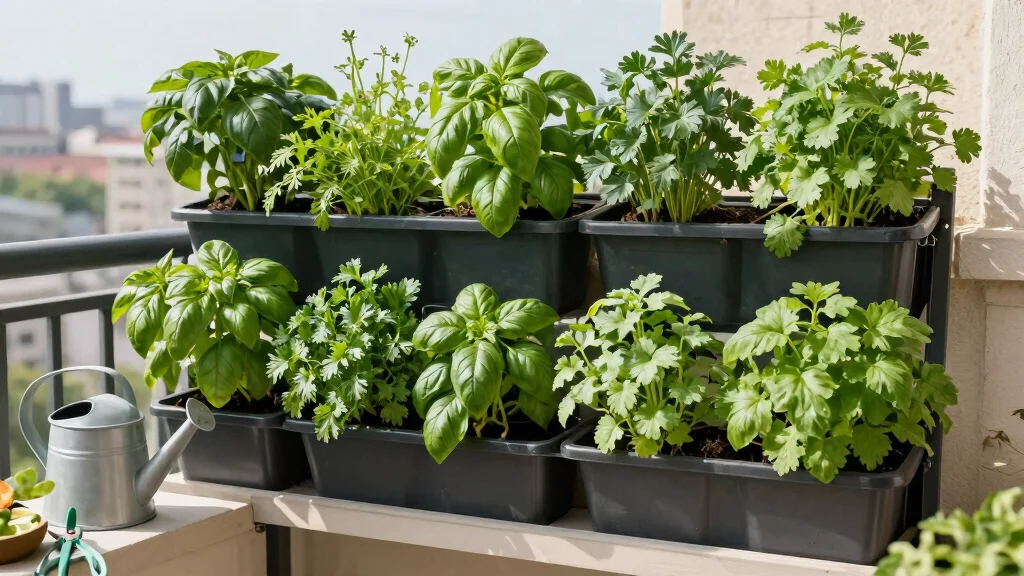
7. Hanging Planter Boxes

Short on space? Hanging planter boxes can add vertical beauty to your garden! You can repurpose old wooden crates or buy affordable boxes for a stunning display. Start by securely mounting hooks or brackets on your wall.
Fill the boxes with potting soil and your favorite trailing plants like ivy or petunias. Remember to water them regularly to keep your plants thriving. Elevated planters also help reduce pest issues, making gardening easier!
Key steps to create your hanging planters:
– Mount hooks or brackets securely
– Fill with soil and add trailing plants
– Water regularly for healthy growth
This project can transform any space into a cozy retreat, especially when you add decorative fairy lights for evening ambiance!
Did you know that hanging planter boxes can add up to 60% more usable vertical space for your diy plant box outdoor setup? Start by mounting sturdy hooks, fill with soil, and water regularly for thriving ivy or petunias.
Hanging Planter Boxes
Editor’s Choice

saffruff Heavy Duty Plant Hooks for Wall: 6-Inch 2 Pack Plant Hangers Ou…

Yaheetech 43.5″ L×16″ W×14″ H Wooden Raised Garden Bed, Horticul…

Miracle-Gro Moisture Control Potting Mix – Plant Soil For Container Plan…
8. Concrete Block Planters

Concrete blocks are a durable and stylish option for outdoor gardening. They offer excellent drainage and can be arranged in various designs to fit your aesthetic. Begin by stacking the blocks in a pattern that appeals to you—horizontal, vertical, or zigzag.
Fill each block with potting soil and select plants that thrive in your climate. Mixing flowers with herbs can create a beautiful and functional garden. The modern look of concrete adds an urban touch to your outdoor space.
Key steps to create your concrete block planters:
– Stack blocks in an appealing pattern
– Fill with soil and select plants
– Consider a mix of flowers and herbs
This project combines style with practicality, ensuring your garden looks great while being easy to maintain!
You Might Also Like
Concrete Block Planters
Editor’s Choice

14.5-Inch Grey Rectangle Concrete Succulent Planter Windowsill Boxes

Burpee, 9 Quarts | Premium Organic Potting Natural Soil Mix Food Ideal f…
Garden Tools Set, 3 Pack Heavy Duty Gardening Tools Set Include Garden S…
9. Recycled Container Gardens
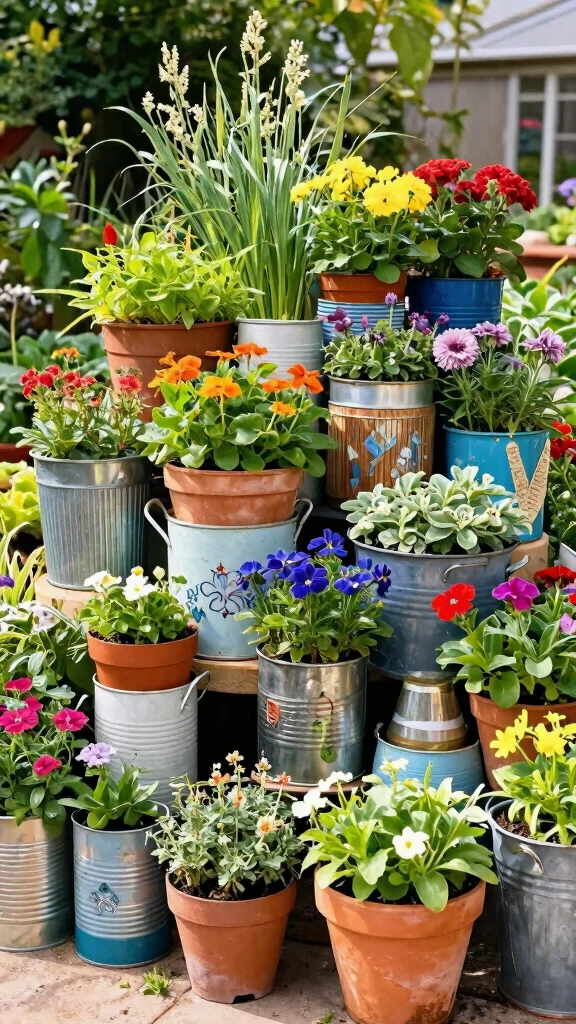
Why not repurpose old containers into unique plant boxes? Whether you have tin cans, buckets, or old bins, you can easily turn them into colorful planters. Start by ensuring your containers have proper drainage holes, which might require drilling.
Once cleaned, feel free to paint or decorate them to match your outdoor style. Fill the containers with soil and add your favorite plants—flowers, succulents, or herbs all thrive beautifully. This creative approach allows for a playful mix-and-match style in your garden.
Key steps to create your recycled container gardens:
– Ensure proper drainage in containers
– Clean and decorate as desired
– Fill with soil and choose plants
This budget-friendly idea adds character to your outdoor space without breaking the bank!
Recycled Container Gardens
Editor’s Choice

Nicpro 32 Colors Outdoor Acrylic Paint Bulk with Brush and Sponge, Knife…

3 otters 15-Piece Diamond Hole Saw Kit for Plant Pots, DIY Gardening & C…
Miracle-Gro Potting Mix – For Container Plants, Flowers, Vegetables, Shr…
10. Simple Log Planters

Using logs as planters is a unique way to incorporate natural elements into your garden. This rustic project starts by sourcing logs of various sizes. Hollow out the centers to create planting spaces, making sure to include drainage holes.
Fill the hollowed logs with rich potting soil and select hardy plants like succulents, ferns, or wildflowers. The natural wood blends beautifully with your outdoor environment, adding an organic touch.
Key steps for your log planters:
– Source logs of different sizes
– Hollow out the centers for planting
– Fill with soil and select plants
This quick weekend project provides a charming, rustic element to your outdoor space while utilizing materials from your yard!
Simple Log Planters
Editor’s Choice
Miracle-Gro Potting Mix – For Container Plants, Flowers, Vegetables, Shr…
Garden Tools Set, 3 Pack Heavy Duty Gardening Tools Set Include Garden S…

PAG Planter Terrariums Kit Desktop Hydroponics Air Plant Holder with 4 B…
Conclusion

Building your own DIY plant boxes is a rewarding and fun way to enhance your outdoor space without stretching your budget. From vertical pallets to recycled containers, each project offers unique charm and creativity that can brighten up any area. As you dive into these weekend gardening activities, remember that every box tells a story, and every plant has its place in your garden.
So, grab your tools and gather your materials—it’s time to create your personal green oasis that reflects your style and love for plants. Get started on one or all of these ideas, and watch your outdoor space flourish!
Note: We aim to provide accurate product links, but some may occasionally expire or become unavailable. If this happens, please search directly on Amazon for the product or a suitable alternative.
This post contains Amazon affiliate links, meaning we may earn a small commission if you purchase through our links, at no extra cost to you.
Frequently Asked Questions
Question: What materials work best for a budget-friendly diy plant box outdoor project?
For a budget-friendly diy plant box outdoor project, start with rot-resistant options like cedar or redwood, or repurpose pallets and corrugated metal to save costs. Use exterior-grade screws, pre-drill to prevent splitting, and seal with a non-toxic, weatherproof finish. Plan your box dimensions around available space and drainage, and consider lining with a thin landscape fabric or plastic liner to protect wood. Finish with exterior paint or stain to extend life.
Tip: this approach aligns with budget-friendly garden ideas and outdoor gardening projects you can finish this weekend.
Question: How can I set up a vertical diy plant box outdoor garden in a small space?
To create a vertical diy plant box outdoor garden in a small space, consider wall-mounted boxes, stacked crates, or a trellis with planters. Use weatherproof fasteners and ensure drainage; pack with lightweight soil and plantings that suit sun exposure. Leave space for watering and access for maintenance. Anchor securely to a wall or fence and consider lightweight options for easy repositioning. This setup is a great example of vertical gardening solutions for small spaces and creative plant box solutions.
Question: Which plants thrive in diy planter designs for outdoor spaces?
Choose plants that match light and water needs and fit the box depth. For sunny spots: herbs like basil and oregano, compact tomatoes or peppers; for shade: lettuce, spinach, kale, and hardy greens. Add trailing varieties for drama, like nasturtium or sweet alyssum. Use a quality, well-draining potting mix and water consistently. This supports DIY planter designs and creative plant box solutions in small outdoor areas.
Question: How long does a typical weekend project to build a diy plant box outdoor take, and what tools do I need?
Most weekend projects for a simple diy plant box outdoor take about 2–4 hours per box, more if you’re building a bigger multi-box setup. Gather tools like a tape measure, handsaw or miter saw, drill and driver, level, screws, sandpaper, exterior-grade sealant, paintbrush or roller, gloves, and a watering can or hose. Pre-cut pieces, assemble frame, drill drainage holes, line the box, fill with soil, then plant. You can finish faster if you have a buddy to help or if you reuse ready-made boxes.
Question: How can I weatherproof and maintain my diy plant box outdoor for durability?
Weatherproofing starts with choosing rot-resistant wood or composite and sealing every cut edge with exterior sealant. Line the interior with a breathable liner to protect the wood but keep drainage, elevate the box off damp ground, and use an exterior finish. Recoat every couple of years and inspect for rot or loose hardware after storms. Refresh soil seasonally and rotate plants to prevent disease. This fits well with weekend gardening activities and outdoor gardening projects.
Related Topics
diy plant box outdoor
vertical gardening
budget-friendly garden
weekend projects
small space gardening
creative planter designs
easy gardening ideas
sustainable gardening