Starting seeds indoors can feel like a game-changer for urban gardeners. As the chill of winter fades, the anticipation of spring kicks in. This time of year always reminds me of the thrill of watching tiny seeds sprout into vibrant plants. If you’re someone who loves gardening but struggles with limited space, this one’s for you. I pulled together ten ideas that are practical, easy to follow, and perfect for getting a jump on your growing season.
You might be wondering how to turn your cozy living space into a mini-garden. Whether you’re an experienced green thumb or a beginner just looking to try your hand at indoor gardening, you’ll find useful tips here. You’ll learn how to choose the right seeds, create a comfortable seedling station, and care for your plants as they grow. By the end of this guide, you’ll be well-equipped to nurture your seedlings and enjoy the fruits of your labor in no time.
Let’s get started! You’ll discover not just how to start seeds indoors but also the essential techniques to help them thrive in your small space. Your gardening journey is about to get a whole lot easier!
Key Takeaways
– Choosing the Right Seeds: Start with seeds that suit your indoor environment and growing conditions.
– Creating a Cozy Seedling Station: Set up a dedicated area that provides warmth and comfort for your seedlings to grow.
– Watering Techniques: Learn the best ways to keep your seedlings hydrated without overdoing it.
– Light and Temperature Control: Ensure your plants get sufficient light and the right temperature for optimal growth.
– Transplanting Prep: Understand when and how to move seedlings from indoors to your outdoor garden safely.
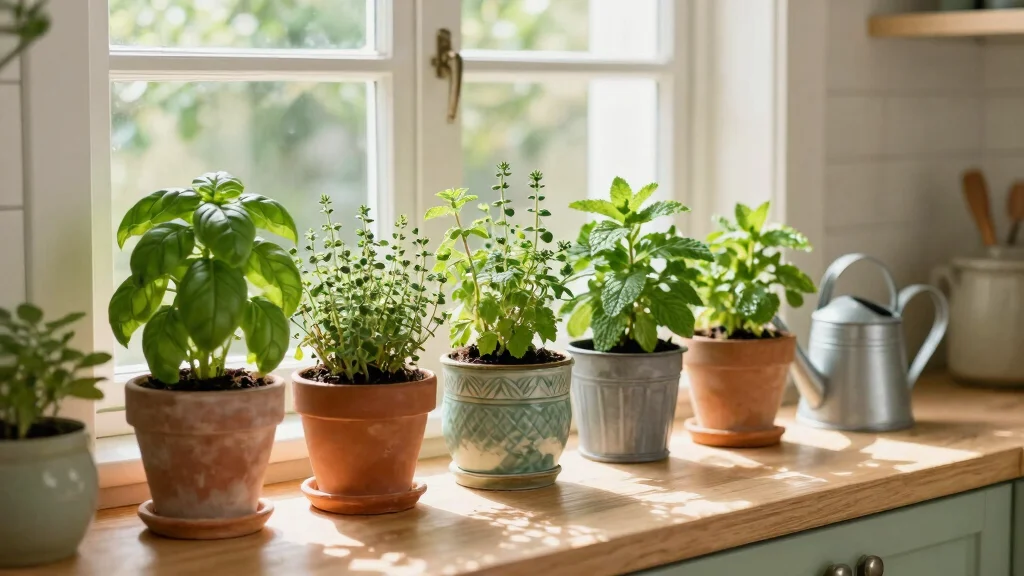
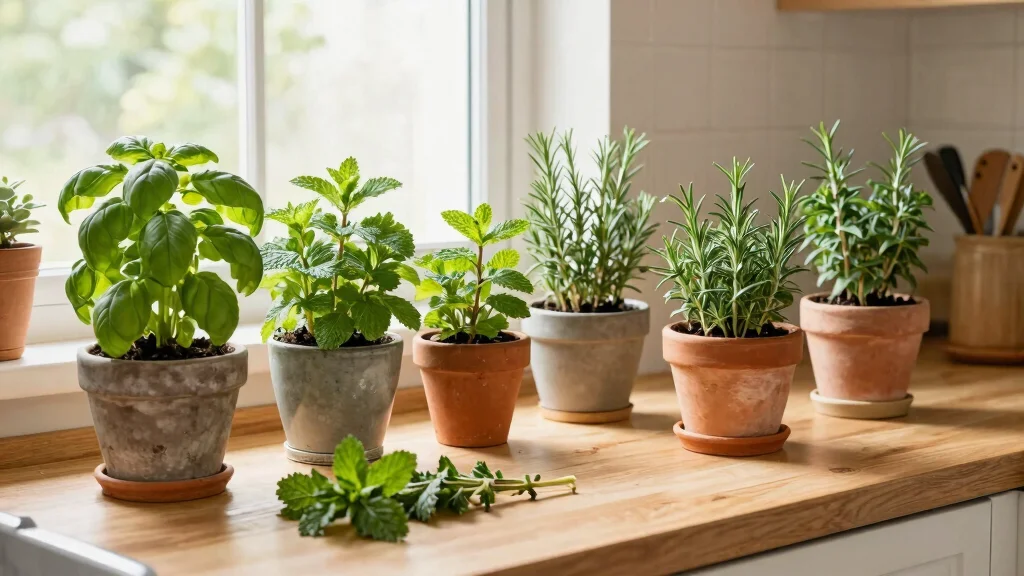
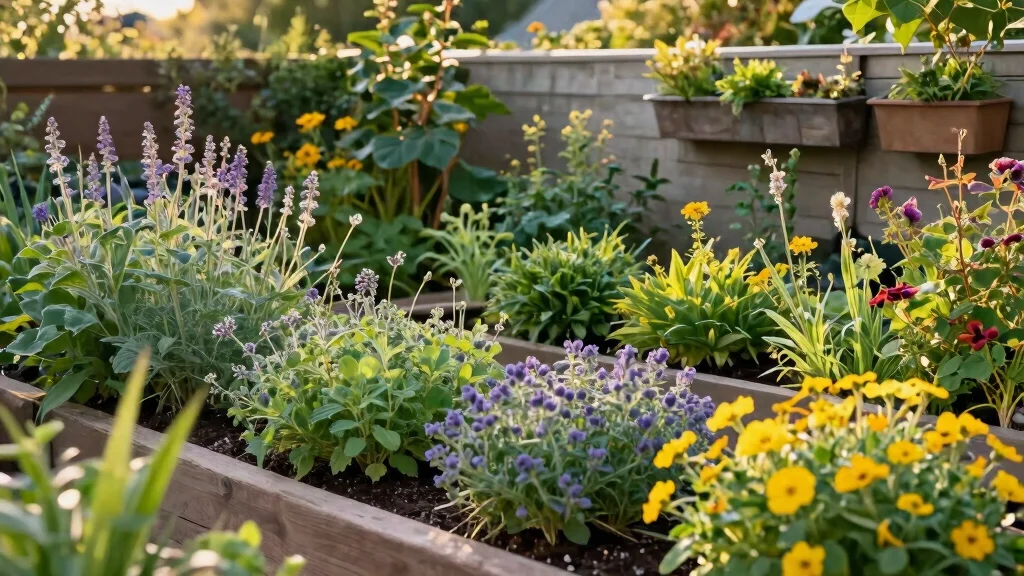
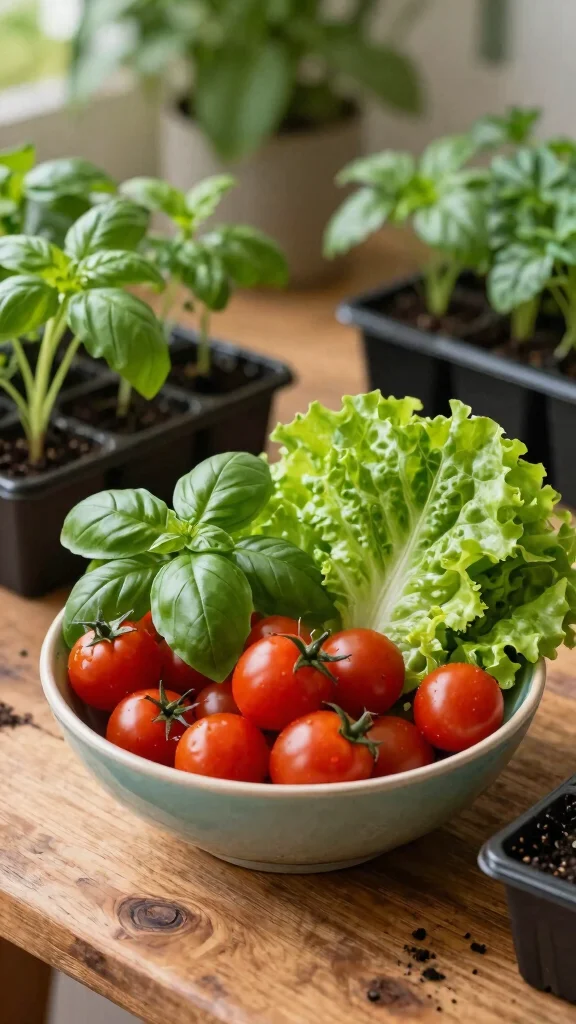
1. Choose the Right Seeds

Selecting the perfect seeds is the foundation of your indoor garden’s success. Focus on varieties that flourish in pots and suit your indoor space, such as vibrant cherry tomatoes, crisp salad greens, and aromatic herbs like basil and cilantro. These choices not only enhance your meals but also provide a delightful growing experience right at home.
Start by researching the best options for your environment. Look for seeds that are known for thriving indoors, and consider heirloom varieties for unique flavors. Always check the seed packets for essential planting details to ensure optimal growth.
Key seeds to consider for your indoor garden:
– Lettuce: Grows quickly and loves smaller spaces.
– Herbs: Perfect for your kitchen and easy to manage.
– Peppers: Choose compact varieties for container success.
Grouping seeds by their light and moisture needs can help create a balanced indoor garden. The right seeds lead to healthy plants, setting the stage for a rewarding gardening journey.
Choose the Right Seeds
Editor’s Choice

YAUNGEL Seed Starter Tray with Grow Light, 6 Pack Seed Starter Kit with …

Back to the Roots Heirloom Organic, Non-GMO & USA Grown Seeds, 30ct Herb…

Aokrean Plant Grow Light, 48 LEDs Full Spectrum Grow Lights for Indoor P…
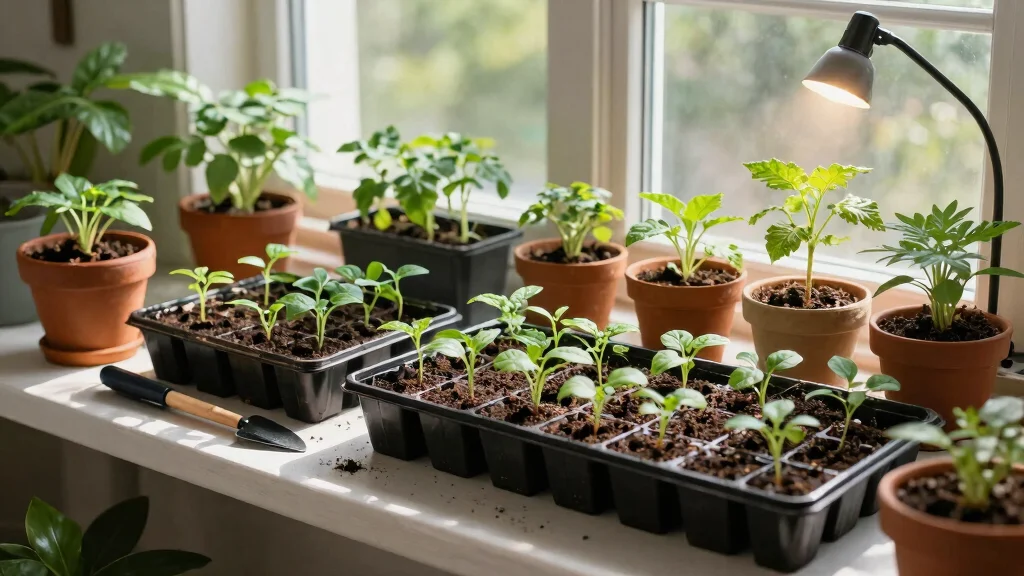
2. Create a Cozy Seedling Station

Designing a welcoming seedling station in your home can enhance your gardening experience. It can be as simple as a small table by a sunny window or a dedicated shelf with grow lights, providing a nurturing environment for your seedlings. This setup makes it easy to care for them while keeping things organized.
Ensure your seedling station includes essential items like grow lights for those low on natural light, sturdy seedling trays, and tools to monitor temperature and humidity. Adding a touch of personality with colorful pots or garden decor can make your space enjoyable.
Essentials for your seedling station:
– Grow Lights: Crucial for healthy growth in low light.
– Seedling Trays: Opt for ones with good drainage.
– Thermometer and Hydrometer: Keep track of temperature and moisture.
Creating a space you love will make tending to your seedlings a joy. With the right setup, indoor gardening becomes an exciting and manageable hobby.
📹 Related Video: Seed Starting Indoors Under Grow Lights 101
Create a Cozy Seedling Station
Editor’s Choice

GooingTop LED Grow Light,6000K Full Spectrum Clip Plant Growing Lamp wit…

TempPro TP50 Digital Hygrometer Indoor Thermometer Room Thermometer and …

Gardzen 5-Set Seed Starter Tray Kits, Durable Plant Germination Trays wi…
3. Use Quality Potting Mix

Using the right potting mix is vital for your seedlings’ success. Avoid garden soil, which can lead to drainage issues and pests. Instead, choose a high-quality, lightweight mix specifically designed for starting seeds to give your plants a strong foundation.
When selecting your potting mix, look for one that allows for good aeration and moisture retention. Organic options are excellent for growing herbs and vegetables without chemicals. You can even create your own blend at home for complete control over the ingredients.
Consider these factors in your potting mix:
– Aeration: Allows roots to breathe and grow.
– Moisture Retention: Absorbs moisture without waterlogging.
– Organic Options: Free from harmful chemicals.
Investing in quality potting mix pays off with healthier seedlings and a bountiful harvest. Your plants will thank you for the effort!
Starting seeds indoors in a small space? Use a light, high-quality seed-starting mix. It provides ideal aeration and moisture retention, preventing soggy roots and pests—perfect for urban growers.
4. Master Watering Techniques

Proper watering is essential for nurturing your seedlings. Too much water can drown them, while too little can lead to wilting. Mastering this technique will set you on the path to successful indoor gardening.
Start by checking the soil moisture with your finger; if it feels dry an inch down, it’s time to water. Consider bottom watering to hydrate your seedlings without compacting the soil. Using a spray bottle can also help maintain gentle moisture for delicate plants.
Key watering techniques to follow:
– Check Soil Moisture: Test with your finger for dryness.
– Water from Below: Prevent soil compaction with bottom watering.
– Use a Spray Bottle: Perfect for delicate seedlings.
Use room temperature rainwater or distilled water for the best results. Monitoring moisture regularly helps create a tailored watering routine, ensuring your plants remain healthy and vibrant.
Master Watering Techniques
Editor’s Choice

Spray Bottle for Plants 2 Pack, 16oz – Ultra Fine Mist, Plant Mister Emp…

XLUX Long Probe Deep Use Soil Moisture Meter, Water Monitor Indicator Se…

10 Plant Growing Trays (No Drain Holes) – 20″ x 10″ – Perfect Garden See…
5. Provide Adequate Light

Light plays a crucial role in the growth of your seedlings. Insufficient light can cause them to stretch and become weak. Understanding how to provide the right amount of light is key to growing strong plants.
Utilize natural light by placing seedlings on a south-facing windowsill that receives ample sunlight, or use full-spectrum LED grow lights if natural light is limited. Maintaining a consistent light schedule of 14-16 hours daily will keep your seedlings thriving.
Lighting options to consider:
– Natural Light: Ideal for sunny windowsills.
– Grow Lights: Mimic sunlight for indoor growth.
– Light Schedule: Maintain 14-16 hours of light daily.
Adjust your grow lights as seedlings grow, and rotate trays to ensure even light exposure. These practices will lead to healthy, upright plants ready for transplanting.
You might also like
How To Choose the Right Seeds for Indoor Seed Starting
When starting seeds indoors, picking the right seeds can make a big difference in your gardening success. Here are some key factors to consider when selecting seeds for your indoor gardening adventure:
1. Select Suitable Plant Varieties
Choose seeds that thrive well in indoor conditions. Look for varieties labeled as “container-friendly” or “dwarf” since they tend to have smaller growth habits. Popular choices include herbs like basil and parsley, leafy greens such as spinach and lettuce, and dwarf tomatoes. These plants adapt well to limited space and provide a quick harvest.
2. Consider Your Growing Environment
Evaluate your indoor space. Check light availability, temperature, and humidity levels. Some seeds require more sunlight and warmth than others. For example, peppers and tomatoes love warmth, while lettuce prefers cooler temperatures. Understanding these factors will help you choose seeds that will thrive in your unique environment.
3. Look for Seed Quality
Always opt for high-quality seeds. Look for reputable brands or local seed companies that provide information about germination rates and the seed’s origin. Fresh seeds often have better germination rates than older ones. Check for expiration dates or labels indicating the seeds were harvested recently. This will give you a greater chance of growing healthy seedlings.
4. Evaluate Your Gardening Goals
Think about what you want to achieve with your indoor garden. Are you looking to grow food for cooking, ornamental plants for decoration, or a mix of both? Depending on your goals, you may choose different types of seeds. If you want a quick harvest, consider fast-growing crops like radishes or microgreens. For a decorative touch, consider flowering plants such as petunias or marigolds.
5. Check Your Growing Season
Timing is crucial. Research the best planting times for each seed variety. Some plants need to be started indoors weeks before the last frost, while others can be sown closer to the planting date. Knowing your local growing season helps you plan effectively and gives your seeds a better chance of thriving.
6. Budget for Seed Choices
Seeds come in a range of prices. Set a budget for your seed purchases. Sometimes, heirloom seeds or organic seeds can be pricier but might offer unique flavors or garden benefits. Compare prices and consider getting seed packets that allow you to grow multiple plants without spending too much.
Pro Tip: Always start with a few different varieties to see what works best in your indoor space. This way, you can learn and adjust your choices in future growing seasons! Happy planting! 🌱
Provide Adequate Light
Editor’s Choice
GooingTop LED Grow Light,6000K Full Spectrum Clip Plant Growing Lamp wit…

yadoker Plant Grow Light, LED Growing Light Full Spectrum for Indoor Pla…
6. Monitor Temperature and Humidity

Maintaining the right temperature and humidity levels is vital for your seedlings’ growth. Most seeds thrive in warmer conditions, typically between 65°F and 75°F, which is ideal for germination.
Utilize heat mats to keep soil temperatures consistent, and consider using humidity domes for the first few weeks to retain moisture. Ensure good airflow around your seedlings to prevent issues with stagnant air.
Tips for managing temperature and humidity:
– Heat Mats: Maintain ideal soil temperatures.
– Humidity Domes: Retain moisture during early growth.
– Ventilation: Use small fans to promote airflow.
Regularly checking these levels will help create an optimal environment for your seedlings. This attention to detail makes indoor gardening more rewarding and enjoyable!
Fun fact: starting seeds indoors works best when most seeds germinate between 65°F and 75°F, a tiny temperature window that boosts germination. Use heat mats to keep soil steady and humidity domes for the first weeks to trap moisture. Remember good airflow to prevent damp air and mold.
Monitor Temperature and Humidity
Editor’s Choice

7 Inch Propagation Dome – 5 Pack Humidity Vented Domes – Plant Growing…
7. Fertilizing Seedlings

Once your seedlings develop their first true leaves, it’s time to introduce them to nutrients through fertilization. This step is essential for their growth and overall health.
Choose a balanced, water-soluble organic fertilizer, and remember to dilute it to half-strength to protect delicate roots. Feed your seedlings every 2-4 weeks, adjusting based on their growth and appearance.
Fertilizing tips to keep in mind:
– Choose the Right Fertilizer: Use organic and balanced options.
– Frequency: Feed every 2-4 weeks based on growth.
– Signs of Nutrient Deficiency: Watch for yellowing leaves.
Incorporating organic fertilizers like fish emulsion can boost health and resilience. Observing your seedlings regularly allows you to cater to their unique needs, making you a more skilled gardener.
Fertilizing Seedlings
Editor’s Choice

Miracle-Gro Pour & Feed Plant Food – Outdoor and Indoor Plant Fertilizer…
8. Thinning Seedlings

Thinning seedlings is a critical step in ensuring healthy growth. When seeds germinate too closely, they compete for resources, which can stunt their development. Thinning allows your strongest seedlings to thrive.
Monitor your seedlings and thin them once they have their first true leaves. Use small scissors to snip back unwanted plants at the base, being careful not to disturb neighboring roots. Follow spacing guidelines from seed packets for optimal growth.
Steps for effective thinning:
– When to Thin: Wait for true leaves to appear.
– How to Thin: Snip unwanted seedlings at the base.
– Spacing: Follow guidelines for healthy development.
Although thinning can be emotional, it’s essential for the health of your garden. Giving your best plants the space they need will lead to a flourishing indoor garden.
You Might Also Like
Thinning Seedlings
Editor’s Choice

Gardzen 3 Pack Seed Starting Tray, Plant Germination Trays, Seed Starter…

COOLJOB 2 Pairs Gardening Gloves for Women Ladies, Breathable Rubber Coa…

VIVOSUN 6.5 Inch Gardening Scissors Hand Pruner Pruning Shear with Strai…
9. Prepare for Transplanting
As your seedlings grow strong and sturdy, it’s time to prepare them for transplanting into the outdoors. This transition is crucial for their continued growth and success.
Start by hardening off your seedlings over a week or two. Gradually introduce them to outdoor conditions by placing them outside for longer periods each day. Be sure to transplant them after the last frost in your area for the best results.
Steps to prepare for transplanting:
– Harden Off: Gradually acclimate seedlings to outdoor conditions.
– Choose the Right Time: Wait until after frost risk.
– Transplanting Techniques: Dig a proper hole for the root ball.
Monitor your newly transplanted seedlings closely during their first week. Providing ample water and care will help them adjust to their new environment, leading to a successful outdoor garden.
Fun fact: gradually hardening off seedlings for 7–14 days boosts transplant survival dramatically. If you’re starting seeds indoors, ease them into outdoor conditions a little each day, and transplant after the last frost for sturdy, thriving plants.
Prepare for Transplanting
Editor’s Choice

Succulent Tools, 13 Pcs Mini Garden Tool Set, Transplanting Tools Set,Su…
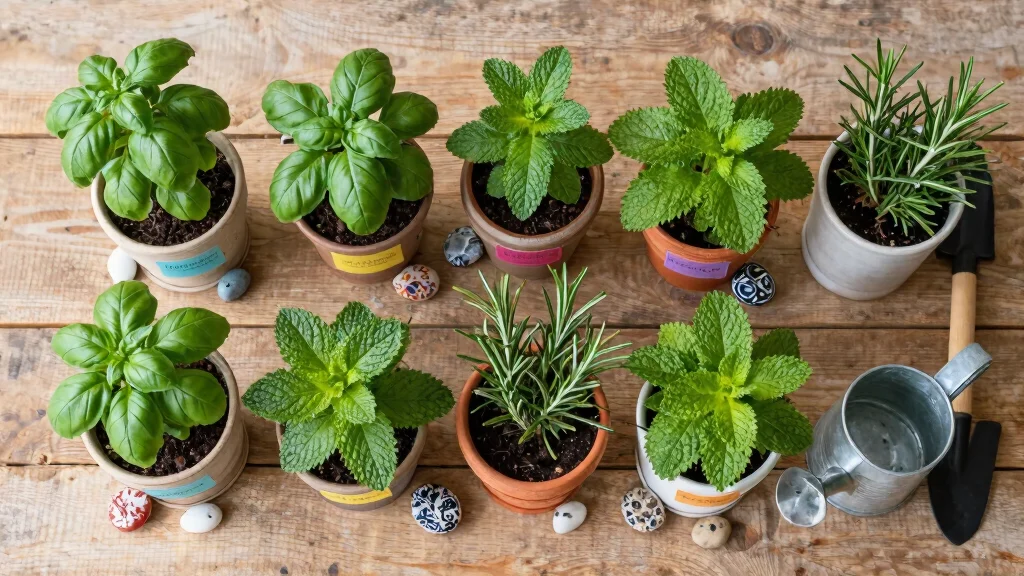
10. Enjoy the Fruits of Your Labor
After all the hard work you’ve put into your indoor garden, it’s time to enjoy the rewards! Relish the fresh herbs and vibrant vegetables you’ve nurtured from seed to plate.
Harvest wisely by trimming herbs regularly to encourage new growth, and pick vegetables consistently for ongoing production. Share your bounty with friends and family to celebrate your gardening success and strengthen community ties.
Ways to enjoy your harvest:
– Harvest Wisely: Trim herbs for bushier growth.
– Share the Bounty: Gift excess produce to others.
– Document Your Progress: Keep a journal of your gardening journey.
Celebrating your achievements fuels your passion for gardening. Nothing beats the joy of fresh produce from your own garden, inspiring you to continue growing and learning in future seasons.
Enjoy the Fruits of Your Labor
Editor’s Choice

Ahopegarden Indoor Garden Hydroponics Growing System: 10 Pods Plant Germ…
Conclusion

Starting seeds indoors can be a rewarding experience that sets the stage for a successful growing season. With the right techniques, supplies, and a touch of love, your indoor garden can thrive even in the smallest spaces.
As you embark on your urban gardening journey, remember that patience and care are your best tools. Embrace the joy of watching your seeds grow into healthy plants, and don’t hesitate to share your gardening adventures with others!
Happy planting!
Note: We aim to provide accurate product links, but some may occasionally expire or become unavailable. If this happens, please search directly on Amazon for the product or a suitable alternative.
This post contains Amazon affiliate links, meaning we may earn a small commission if you purchase through our links, at no extra cost to you.
Frequently Asked Questions
Which seeds are best to start indoors for a head start in a small urban garden?
Starting seeds indoors can give you a big boost even in limited space. Great options for beginners include basil, cilantro, lettuce, spinach, and kale, plus quick greens like arugula and microgreens. For variety, you can also try radishes and some tomato or pepper transplants later in the season. Use a light, fluffy seed starting mix in shallow trays, label everything clearly, and keep them in a warm spot with bright light (aim for 12-16 hours daily via sun or indoor gardening lights). Water carefully so the soil stays consistently moist but not soggy, and transplant when they develop a few true leaves. This is classic starting seeds indoors that fits tiny spaces and busy urban lives.
How early should I start seeds indoors for a growing season in a small apartment?
Plan around your local last frost date and give yourself a 6-8 week head start for most vegetables. Use a simple calendar to map out sowing, germination, and transplant times, and employ early planting techniques like staggered sowings for a continuous harvest. If you’re in a warm home, you can stretch timing a bit, but always harden off seedlings before moving them outdoors. With compact setups, you’ll maximize space by grouping like crops and using vertical or tiered lighting when possible.
What indoor gardening supplies are essential for successful seedling start in a tiny space?
Focus on a compact, efficient kit: a few shallow containers or seed trays with drainage, a lightweight seed starting mix, inexpensive plant labels, and a transparent humidity dome if your air is dry. Add bright lighting (a small grow light setup or a sunny windowsill), a timer to automate light cycles, a gentle watering setup (spray bottle or bottom watering), and optional heat mat for warmth-sensitive seeds. A small fan helps with air circulation. All of these indoor gardening supplies make indoor seed starting predictable and enjoyable.
How should I care for seedlings after they germinate to keep them healthy in a small space?
Once seeds germinate, give them bright, consistent light (12-16 hours daily) and rotate to prevent leaning. Keep the soil evenly moist but not waterlogged, and avoid splashing soil which can invite disease. When true leaves appear, feed with a diluted seedling fertilizer following the label—less is more early on. Transplant to larger pots or staggered containers as they grow, and begin seedling care tips like trimming weak growth and ensuring good air circulation to prevent damping-off. Always harden off before any outdoor exposure to prevent shock.
What common mistakes do beginners make when starting seeds indoors, and how can I avoid them?
Common pitfalls include overwatering, under-lighting, and using heavy garden soil instead of a light seed starting mix. Others forget to label plants, skip hardening off, or neglect airflow. Avoid these by setting up a simple routine: use proper indoor gardening supplies, place seedlings in a bright spot, water only when the topsoil dries slightly, and gradually acclimate plants outdoors over 7-10 days. Keep a small plant journal for gardening tips for beginners, track which crops work best for your space, and don’t rush to transplant until seedlings are sturdy and weather permits.
Related Topics
starting seeds indoors
indoor gardening supplies
seedling care tips
urban gardening
small space gardening
early planting techniques
gardening tips for beginners
easy seed starting
container gardening
indoor seed starting
seasonal gardening
beginner friendly